
Timeline is a crucial notion of digital forensics. Numerous lasting crimes are essentially sequences of actions leaving digital footprints, which are to be examined step by step in their development and interrelation. Even if one deals with a single-point crime, it always has a background and its implications constituting a coherent storyline that can be investigated on a temporal basis. That is why it is often not an exaggeration to say that digital forensics is all about resolving complex timelines. This importance is the basis of the deliberate attention Belkasoft pays to develop an advanced timeline.
Graphical Timeline Built in Belkasoft Evidence Center
Timelines: Belkasoft Approach
While in many other solutions, times are taken from the corresponding file systems, registries, and event logs, the Belkasoft approach is different and broader. Times are taken with 1000+ artifacts: each of them might have more than one timestamp.
When it comes to Belkasoft Evidence Center, its Timeline encompasses all the artifacts associated with a case and having their time stamps. Whether it is an e-mail, document, picture or chat, such an event will be added to the BEC Timeline list. This is the reason why Belkasoft’s Timeline is indispensable when it comes to reviewing all the activities that have previously taken place on a given device or several devices acquired.
As for the basis of the Belkasoft approach to timelines, the idea is to make them customizable on the one hand, and deep enough on the other hand. In conformity with this, Belkasoft provides two angles for every timeline. Namely, you can examine your cases via grids and graphs (i.e. clickable bars).
Both options will be demonstrated below.
How to Use Belkasoft's Timeline
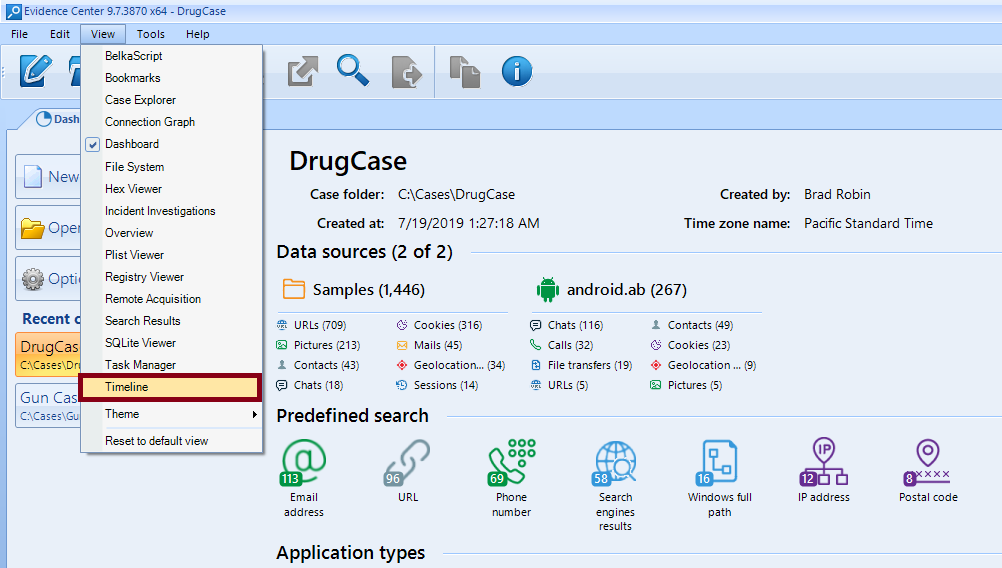
First, let us take a look at how a BEC user can create a timeline. Load your case, click on ‘View’, then activate ‘Timeline’.
How to Build a Timeline
Once you have generated a timeline, a grid view of your timeline will be displayed by default.
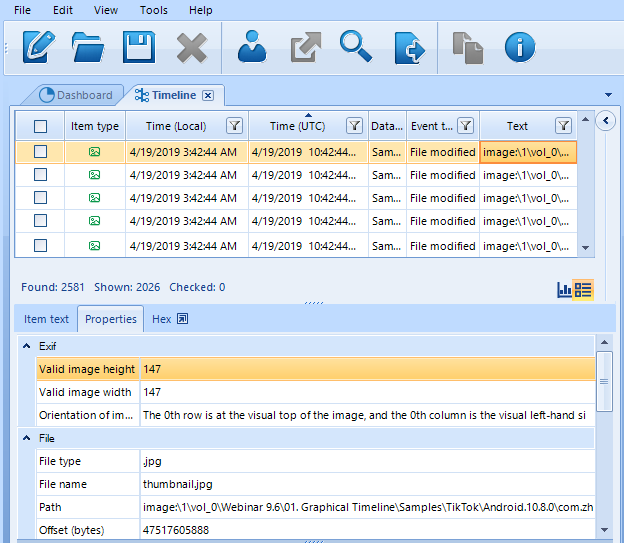
BEC's Timeline Grid View
As you can see, this view is quite detailed. In a typical modern case, you may see hundreds of thousands and even millions of artifacts. Each of them, in its turn, may have several times. It comes with no surprise that Timelines may sometimes contain several million items.
How can one practically handle such amounts? Belkasoft Evidence Center makes it possible. Below is a range of operations to arrange, structure, and analyze such data.
First, on the upper right side of the screen, the entire list of events that have taken place since 2009 is displayed.
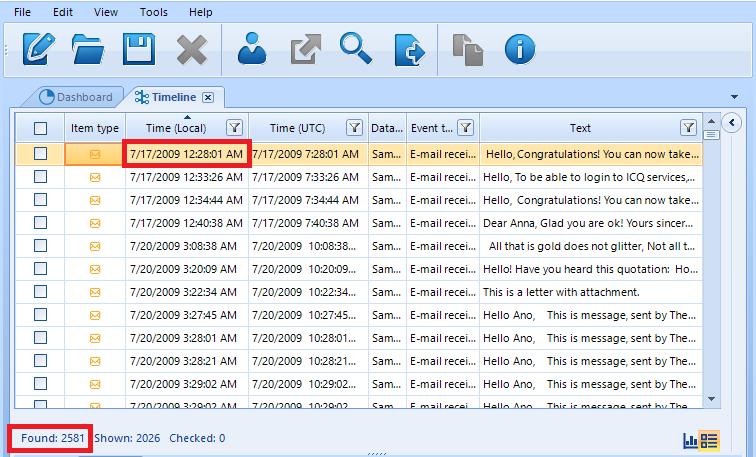
BEC’s Timeline Grid View: It Makes It Possible to See a List of All Artifacts and Sort Them
NB: Time Zones in BEC
Time is of particular importance in this respect, since your data sources may originate from different regions with different time zones. This might be a confusing obstacle, that is why you need a way to bring everything into a coherent timeline.
Information related to a given case may be obtained from data sources taken in varying time zones. More than that, some events may be market by the UTC zone, while other events may be defined on the basis of local time zones.
That is why it is important to specify a proper temporal reference point for your interpretation of events. In BEC, time zones can be separately set for the following components of your investigations:
- Your case
- Your data source
Whenever you create a case via BEC, you are prompted to select a time zone. Please, choose the suspect’s time zone, not yours. This time zone will be the default one for all the date/time stamps, which are stored in a local time zone.
What should you do if you deal with a case involving data sources from different time zones? Indeed, you may be examining several devices, with all but one coming from one country. How to handle this exception from a different country with another time zone?
In this case, you need to override the zone for your ‘special’ device. In order to do so, click on the Data source parameters page shown when you specify your data source in ‘Case Explorer.’
As for the default time for an entire case, it can be changed in ‘Case Properties.’.
The hierarchy of time zones BEC is as follows:
- Data source
- Case
In order to examine all the details associated with an event, click on it and, additional data will be displayed on the Item Properties at the lower right side of the screen.
You can examine each artifact in greater detail. For example, below you can see a suspicious answer sent on 04/16/2015.
As the ‘Text’ says, the contents were as follows:
‘Why, surely, I’ve got a new four-room flat not far from the railway station.’

Item Text Tab Shows Selected Timeline Item Text
Further, if you click on ‘Properties’, you will get additional information regarding this problematic message. There will be two blocks associated with it: ‘General’ and ‘Origin’.
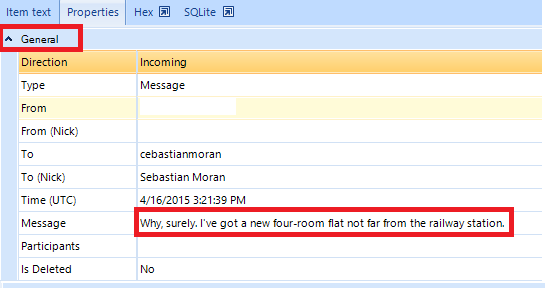
Properties Tab Shows All Properties of a Selected Timeline Item
As you can see, one can find a range of basic characteristics of an artifact such as its direction, type, status, contents, etc. If you need additional details regarding its origins, you can find it below the general block.
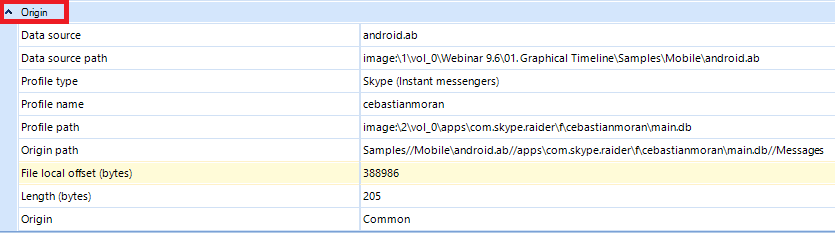
Origin Item Info
All these elements can be used to identify a wanted artifact among millions of artifacts extracted. Situations may differ, as well as your clues and leads: Belkasoft makes it possible to use the artifact-related characteristics to investigate your case and dive deeper via a range of filters below.
Filter
If you click on ‘Profiles’, you can use different ‘identities’ generated by this or that app used by the suspect, such as Android WhatsApp or Outlook, for example. You can insert your search query to find the app by using the ‘Find’ text box.
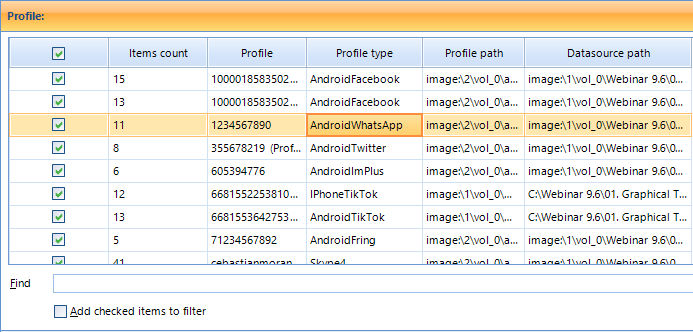
Filter by Profile
Another similar feature of interest is the ‘Text’ field: here you can also search for specific words, such as ‘room’ in this case.
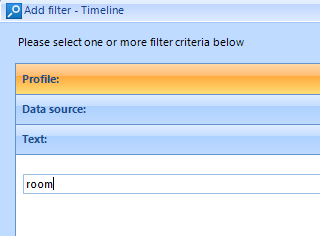
Filter by Text
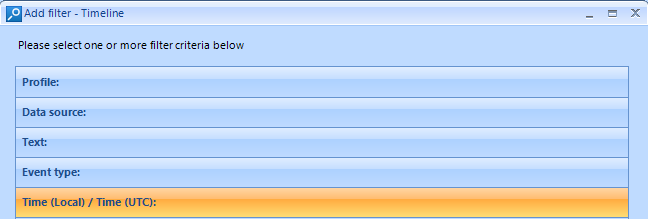
BEC Timeline enables you to filter all the events by their types. This capability is understandably important if you are interested in specific events associated with specific sorts of digital behavior: file downloads, credit card expiration, e-mail sending and receiving, etc.
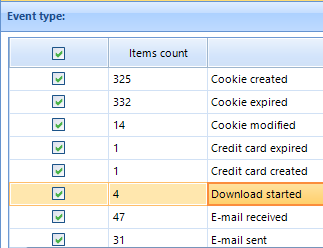
You Can Narrow Your Search by Selecting Only Specific Event Types
Let us assume that you are hunting down digital evidence related to child abuse. It means that you might need to investigate the following issues: 1. Did the suspect create illegal photos? 2. Did they download it? 3. Did they share illegal files via an instant message?
Let’s look at a route you may follow starting from the timeline. For instance, you are sure that the suspect took some illegal pictures to store them on a digital device. In this case, you understandably need to focus on the creation time and file type. To illustrate such a hypothetical situation, let us select the following options.
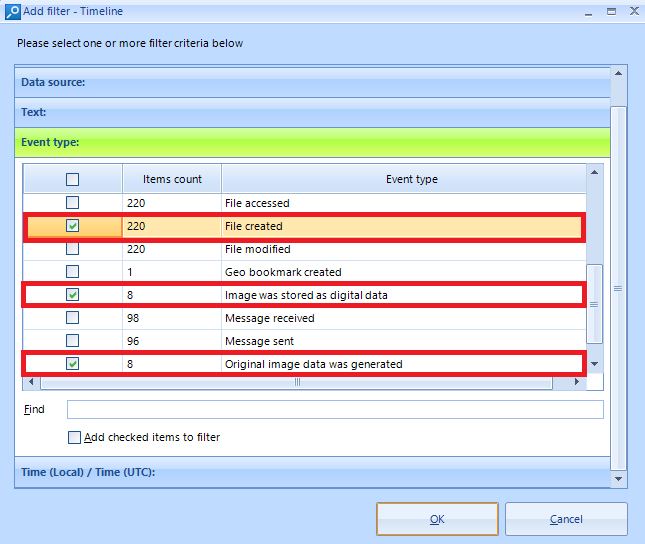
Available Type Options
Let us also suppose that you know the victim’s claim: she was illegally photographed in the summer of 2019 (the exact date is unknown). Therefore, having selected the needed types, you can further narrow your space of time.
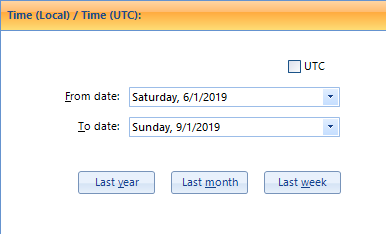
Adding a Time Filter
Once you have defined the file types and time, you can proceed with examining them by clicking on the results.
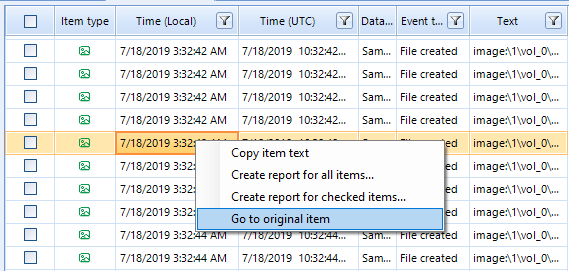
Go to Original Item
If the number of Timeline items is too big even after the filter applied, the artifacts can be examined in greater detail, one by one.
If you click on a ‘Go to the original item’ you will be automatically redirected to ‘Case Explorer’ from your ‘Timeline.’
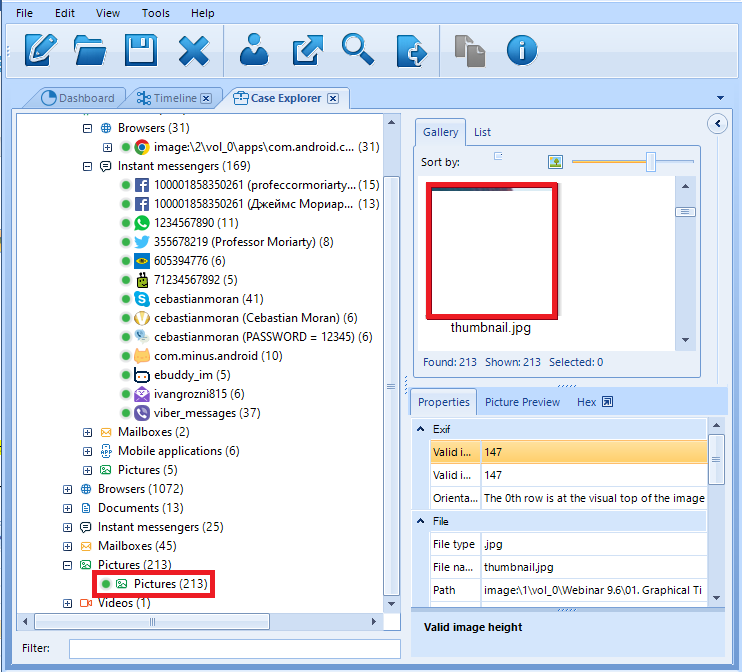
Image in ‘Case Explorer’ (Explicit Content Was Cut)
The ‘Grid View’ we have seen above is helpful when it comes to meticulous spider-work focused on individual events. At the same time, it is also a useful option to take a broader look at the situation you need to investigate. This is where ‘Graph View’ will help you. This mode makes it possible to quickly assess and evaluate a case.
Click on ‘Graph View’ located next to the default ‘Grid View’ option.
Switch to Graphical Timeline by Using Left Button at the Bottom Right Corner
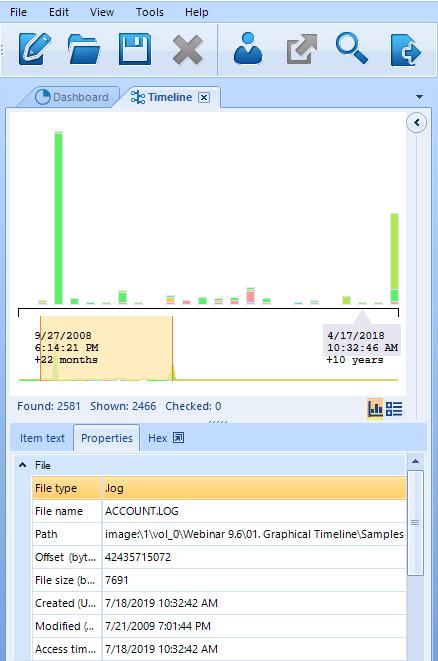
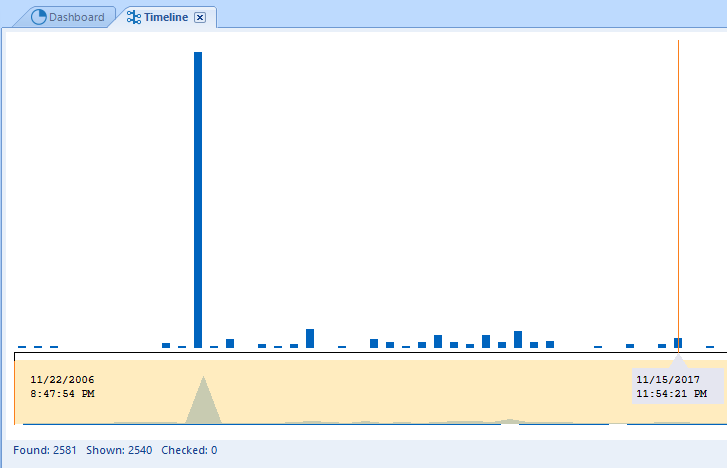
Once you have clicked on it, a picture of this kind will be displayed.
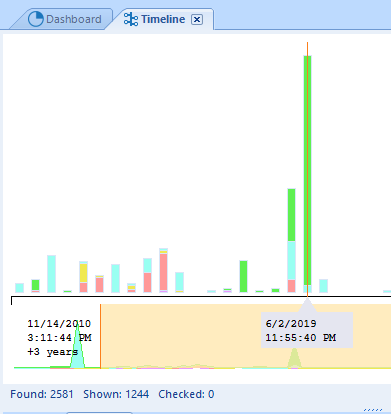
Graph Timeline
The size of the bars in this picture is related to the amount of the events that have taken place, while its colors denote different types of events. Let us assume that you are most interested in those types and need a detailed breakdown. Use the Ctrl+Q combination to get access to such information, like in the screenshot below.

Belkasoft Evidence Center is capable of recognizing the following types: file events, browser events, mail events, chat events, and events related to mobile apps.
Let us also suppose that you now need to discount individual types of events and want to concentrate on their density instead. You can do so by clicking Ctrl+W. This combination will deactivate the type-based differentiation. In this mode, your BEC Timeline will look as follows:
Number of Events at Different Moments with No Breakdown by Type
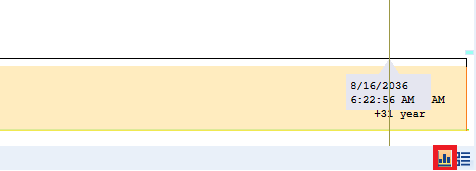
Another advanced feature of the BEC Timeline is the extent to which you can control it via your mouse. If you see a higher frequency of events at a certain point of time, just select it with your mouse.
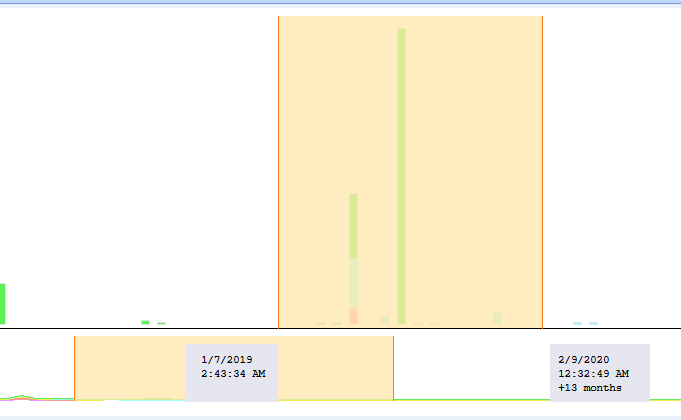
Select Date Period of Interest with Your Mouse
Once you have done it, your BEC Timeline will be narrowed according to your selection for closer examination. By the way, after you do it, you may see that the grid timeline automatically got a filter by the selected time period.
Conclusion
To sum up: Belkasoft Evidence Center Timeline can visualize all the events that have occurred in a case. The resulting representation will combine such events as browser-related ones, chats events, file times like creation/modification/access times, system-based events, email and EXIF times, etc. Different filters can be applied you narrow your search space. Finally, for your convenience, you can use synchronized views: graphical and grid views.
Working with the BEC Timeline is not only easy and efficient. Its key advantage is that it helps you save time you may spend on investigating a case with millions of elements. Via BEC Timeline, you can examine constellations of such times, see relative numbers of artifacts, select your levels of analysis ranging from a single artifact to enormous groups of events, and use numerous filters.
30-day free trial of Belkasoft Evidence Center is available at belkasoft.com/get

