Report options
Report options
Report options window shown when you selected to create a report, allows you to set basic report options:
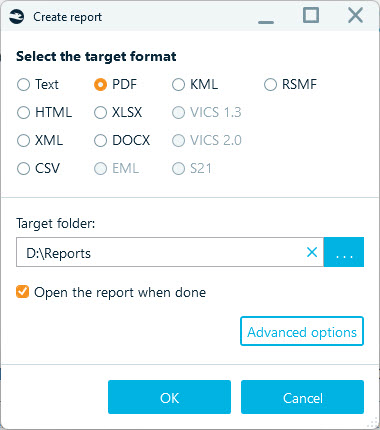
Here you can select a target format, such as text, HTML or PDF. Some options may be greyed out, like on the screenshot above. This means that for selected artifacts these formats cannot be applied. Such formats as EML are used to export email messages, while KML works for geolocation data. Bubble view for chats can be exported to HTML only.
You can also specify a Target folder. You choose leave it blank and Belkasoft X will automatically save your report to the default path inside your AppData folder.
Advanced options button provides more options for you to further fine tune your report. These options are listed in the Advanced report options section below.
Open the report when done checkbox instructs the product to open reports once they are completed. A default system viewer will be used to open resulting files, so if a report is not open after the task is reported success, check if you have an application bound to the corresponding file extension.
Advanced report options
Advanced report options window allows you to customize your report. It has a number of tabs (depending on which report you are creating), among which are:
- Formatting. provides various formatting options for you to choose, such as sorting or a date format.
- Style. Used to specify a logo and fonts.
- Split / Group. Helps to split information over multiple files and group artifacts in one document.
- Files. Helps to tune file-related options.
- Columns. Allows to select which columns to include to a report.
- Folders. You can specify the structure of folders for generated report files.
Note: In previous versions of Belkasoft X more tabs were available such as Contacts and Dates. In our latest edition, we found it advantageous to use filters instead. For more info on this topic, see "Filtering data lists".
Formatting
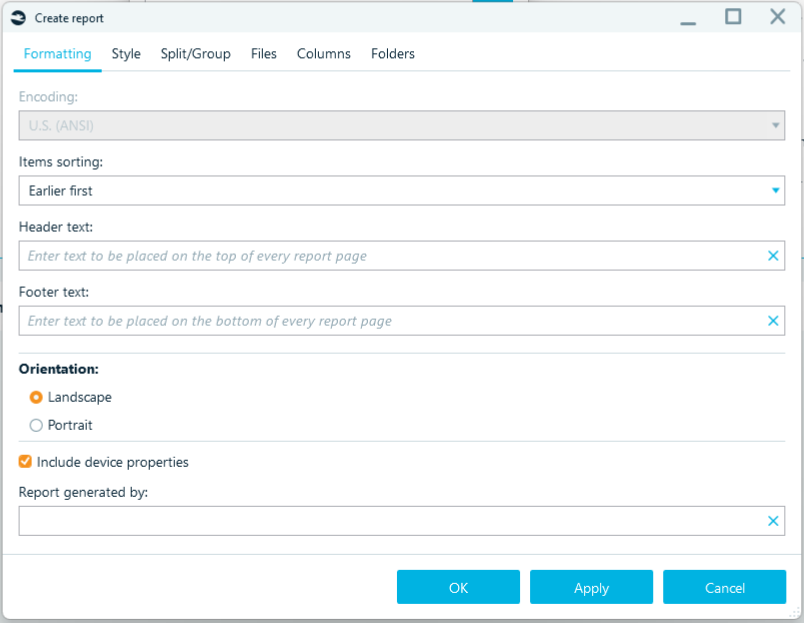
On the Formatting tab of Advanced report options window, you can specify the following options:
- Encoding. If you are creating a report in a text format such as plain text or CSV, you can specify which text encoding to use. Other formats will use UTF8 or Unicode by default.
- Items sorting. You can specify to arrange items in the report by time ascending or descending.
- Header text and Footer text can be only specified for PDF report formats. You can place a text like the investigator’s signature, or any other information required by the rules and regulations of which you follow.
- Orientation. You can specify Landscape or Portrait orientation for formats such as PDF, DOC and RTF.
- Report generated by. Use this field to specify a name of a person who generates a report. By default, the same name as specified as the case creator will be used, but you can override this setting.
Style
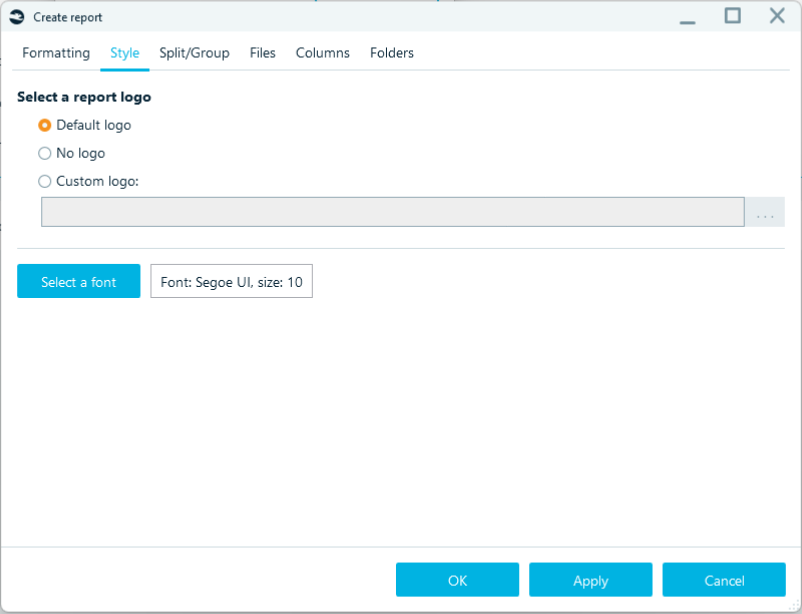
On the Style tab of Advanced report options window, you can specify the following options:
- Default logo. By default, Belkasoft logo is included into all reports.
- Custom logo. Using this option, you can specify your own file to use as a logo on the report.
- No logo. You can switch off adding a logo to report files using this option.
Split / Group
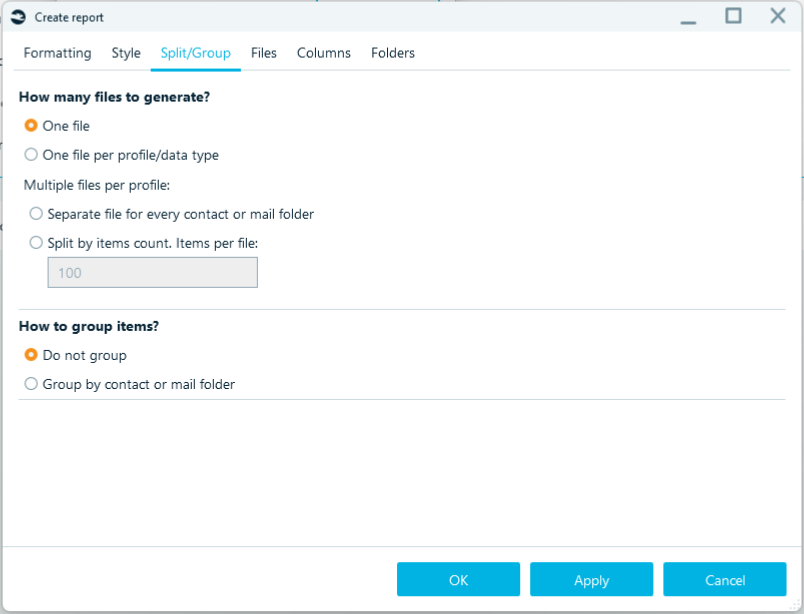
On the Split/Group tab of Advanced report options window you can specify the following options:
- How many files to generate? This setting has the following options:
- One file. A single file will be generated for all selected artifacts. This option would be useful, for example, if you want to have all your case data in a single report file, even if there are artifacts of different types. Note that not every format allows for this option, such as, a report in XML format cannot be created with One file option if your case contains heterogeneous data.
- One file per profile/data type. One file will be generated for each profile (for data types having profiles, such as chat apps or browsers) and for each data type (for data types which do not have profiles, such as pictures or documents).
- Separate file for every contact or mail folder. Applies only to chat apps and mailboxes. A separate file will be generated for each participant in chat history and for each separate email folder inside mailbox.
- Split by items count. Items per file:… You can split report into files of a predefined size, not exceeding specified number, say for instance, no more than 500 items in each standalone report file.
- How to group items? This setting applies to chats and email profiles and has the following options:
- Do not group. No grouping used.
- Group by contact or mail folder. Group chat history or email communication by person (for chats) or an email folder (for emails). If you set this option, you can see the entire chat with each single contact of a profile owner. Otherwise, you will see all chats within that profile would be mixed, with chats originating from different persons, put together and sorted by time.
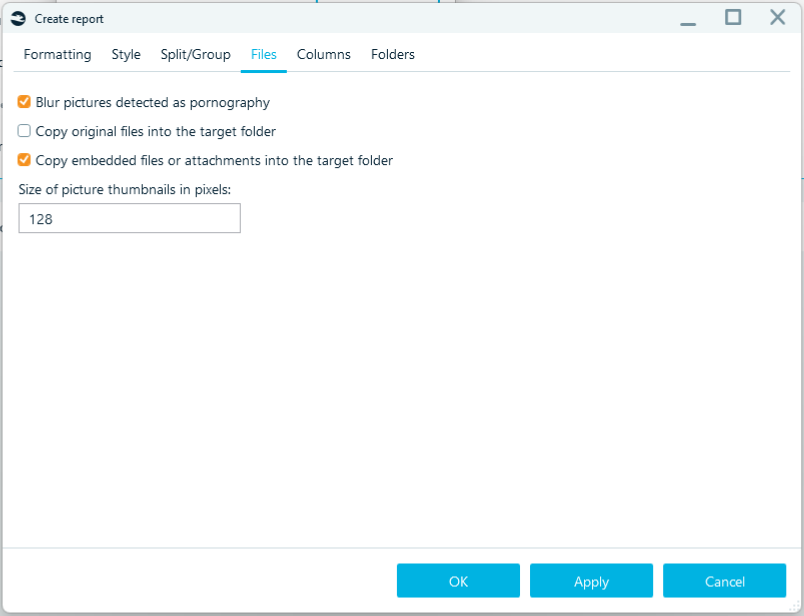
Files
On the Files tab of Advanced report options window, you can specify various file-related options. Below are the avialble options:
- Blur picture detected as porn. If you have this option checked, pictures with pornography detected within them, will be included into a report; however the picture will be blurred on the report.
Note: this only works if you run pornography detection before creating a report. - Copy original files into the target folder. This option instructs the product to copy original pictures and documents to the target report folder (otherwise only document or picture properties and raw document contents will be included into a report). If the target format selected is PDF or HTML, hyperlinks to copied files will be also available in the report.
- Copy embedded files or attachments into the target folder.
- Size of picture thumbnails in pixels. If you opted to include picture preview into a report, this option helps to specify its size in pixels so that the report layout looks good.
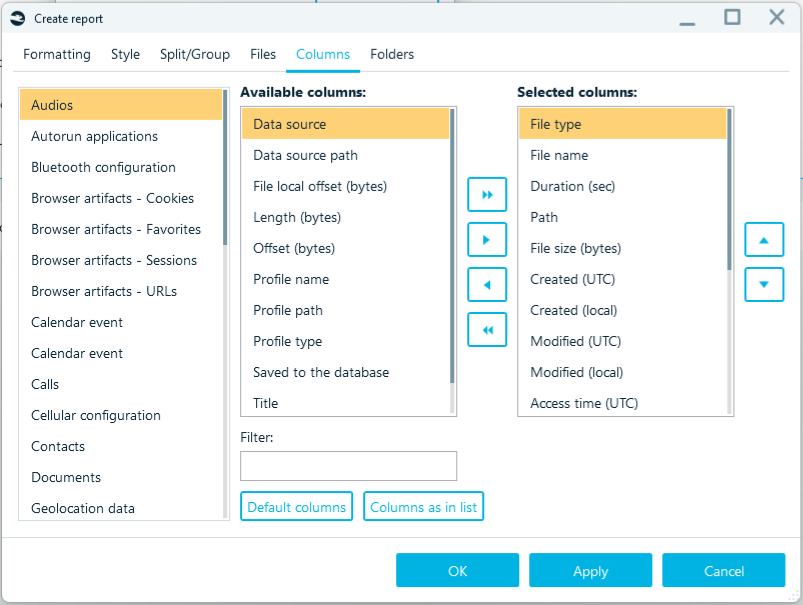
Columns
On the Columns tab of Advanced report options window, you can specify columns to include into your report. This tab consists of the following parts:
- Artifact types. Select the artifact type for column selection. If you are generating a report just for one artifact type, this list will not be shown: however, when you select a data source or the entire case (like the screenshot below), there will be numerous artifact types each with its own available columns set.
- Available columns. Once you select a report type, this list will be populated with all columns (that is, properties) of items of the selected type. You can select one or multiple available columns to include into a report with the help of the corresponding buttons (see Buttons below)
- Selected columns. This list contains columns, which will be used for a report generation. If you exclude any columns from this list, they will not be included into your report. Note that if the order in this list is important, the order of the columns can be customized using corresponding buttons (see Buttons below)
- Filter. This field is useful for reports containing artifacts with many properties, such as pictures having a lot of EXIF fields. Type the first letters of a column to see all matching fields inside Available columns list.
- Buttons >>, >, >, >>,

- >> button moves all columns to Selected columns. Note that if there are many columns in the report, the final document can be messy, unless you are using formats like CSV or XLSX. A report in DOCX or PDF format can typically have 7-10 columns at max (depending on whether you selected landscape or portrait orientation)
- > button moves currently selected column from Available columns to Selected columns
- > button moves currently selected column from Selected columns to Available columns
- >> button moves all columns to Available columns. This selection has a special meaning. This clears the list of all columns, thereby making it easier for you create the column list from scratch.
Note: if you do not, in turn, add any columns back into the report, Belkasoft X will by default add all columns back on to the report. - buttons change the order of columns inside Selected columns, the specified order is preserved in a report
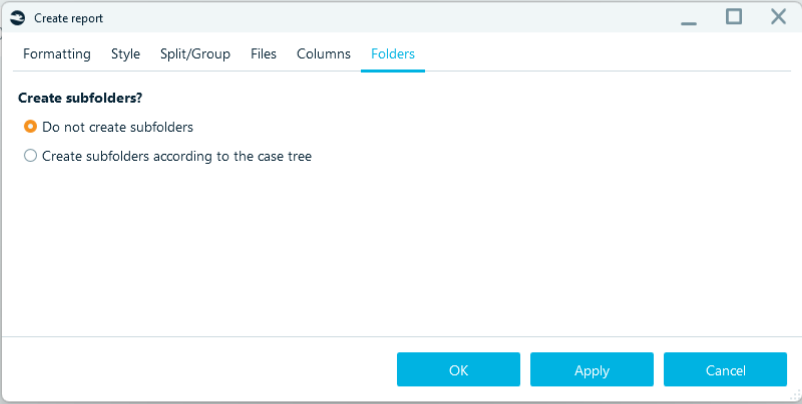
Folders
On the Folders tab of Advanced report options window, you can specify where to put the files of your report. This option should be used when you specify to generate one report per profile. There two choices In this window:
- Do not create subfolders. If you select that option, report folder will be used, and no subfolders will be created.
- Create subfolders according to the case tree. If you opted to create subfolders, this option will create subfolders inside target report folder and repeat the same structure as in Belkasoft X’s Artifacts case tree. For example, if some profile was shown under My Case → Samples → Instant Messengers, and your target report folder is E:\Cases\Reports, then the full path to a report for this profile will be E:\Cases\Reports\My Case\Samples\Instant Messengers.
See also:
Creating reports
Including a map to a report
Including a connection graph to a report