How to Efficiently Triage Digital Evidence with Belkasoft T
Introduction
For digital forensics and incident response (DFIR) specialists, the scene of a cyber incident or crime often presents a challenge: a multitude of potential evidence sources and limited time to conduct on-site examination. In such situations, a comprehensive forensic analysis proves too lengthy and demanding to execute, while taking every piece of hardware back to the lab is not just impractical—it is often impossible.
One of the ways to address this challenge is triage. It entails estimating the priority of devices by relevance to the case and scanning them for potential evidence to decide what to seize for further analysis. Scanning often requires a reliable instrument that can help quickly inspect device contents. When you need to run digital triage of a Windows machine, Belkasoft T is that one tool that enables you to detect and obtain forensically important data stored in RAM and on hard drives.
In this article, we will show you how to run digital forensic triage in five easy steps with Belkasoft T and offer tips to help you navigate the complexities of on-site investigations.
Why Belkasoft T?
Before you begin, let us explore why Belkasoft T is a solid choice for digital forensic triage:
- The tool can identify over 1500 application profiles, including browsers, chat and social network apps, documents, pictures, audios, videos, cryptocurrency transactions and wallets, and even mobile apps if their data somehow end up on a computer
- It locates essential system files like registries, jumplists, link files, prefetch, event logs, and others
- It reveals nested data sources such as Android and iOS backups, virtual machines, and various memory files
- Belkasoft T is truly portable, which means it does not require installation or various libraries like C++ runtime
- Its design ensures a minimal footprint, leaving only inevitable traces as it operates from an external drive: Windows will automatically remember the storage and the last run executable, while the antivirus may check the file and create some logs about it
- An added benefit? It is completely free.
Step 1: Run Belkasoft T
To begin the digital triage of a machine, all you need is a thumb or external hard drive with Belkasoft T on it.
- Download Belkasoft T and extract the zip file onto your media.
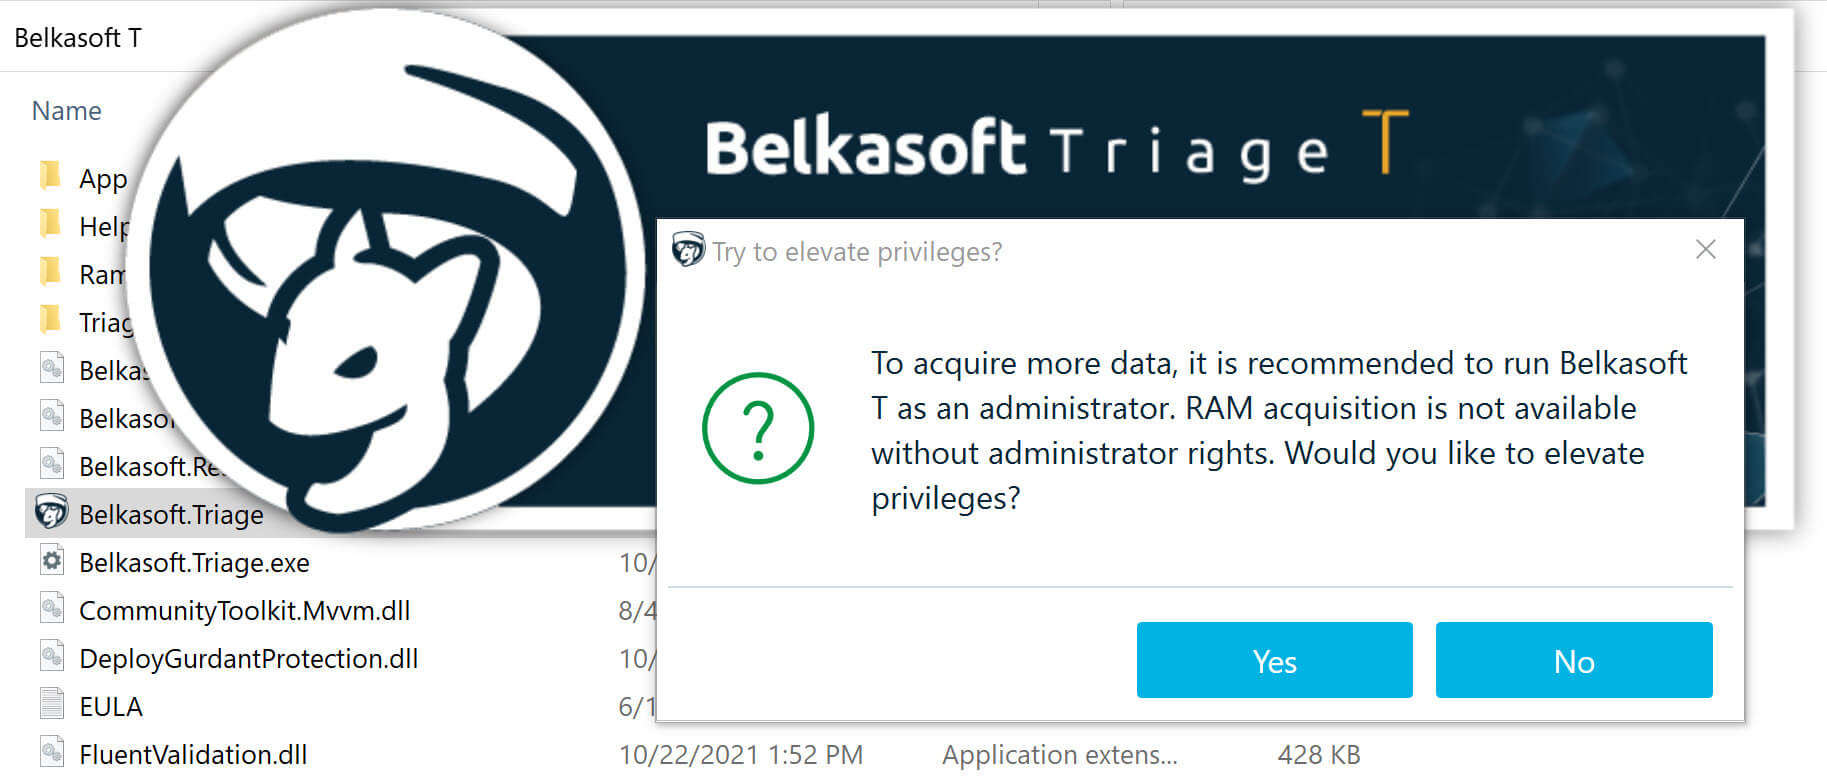
- Connect the drive to the machine you want to inspect, navigate to the folder containing the product files, and run Belkasoft.Triage.exe.
- If you launch the tool without administrator privileges, it displays a warning message offering to elevate the rights to obtain more data.
Running the tool with administrator rights enables you to acquire RAM, access other users' folders, obtain locked system files, and more; however, it may not be possible in the field, especially in a corporate environment.
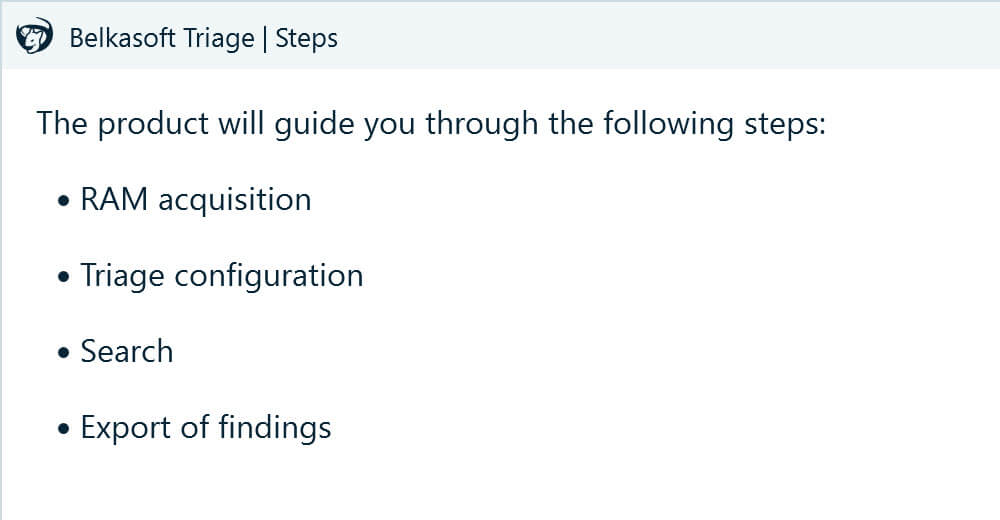
- When the tool launches, in the Steps window, click Next.
Step 2: Acquire RAM
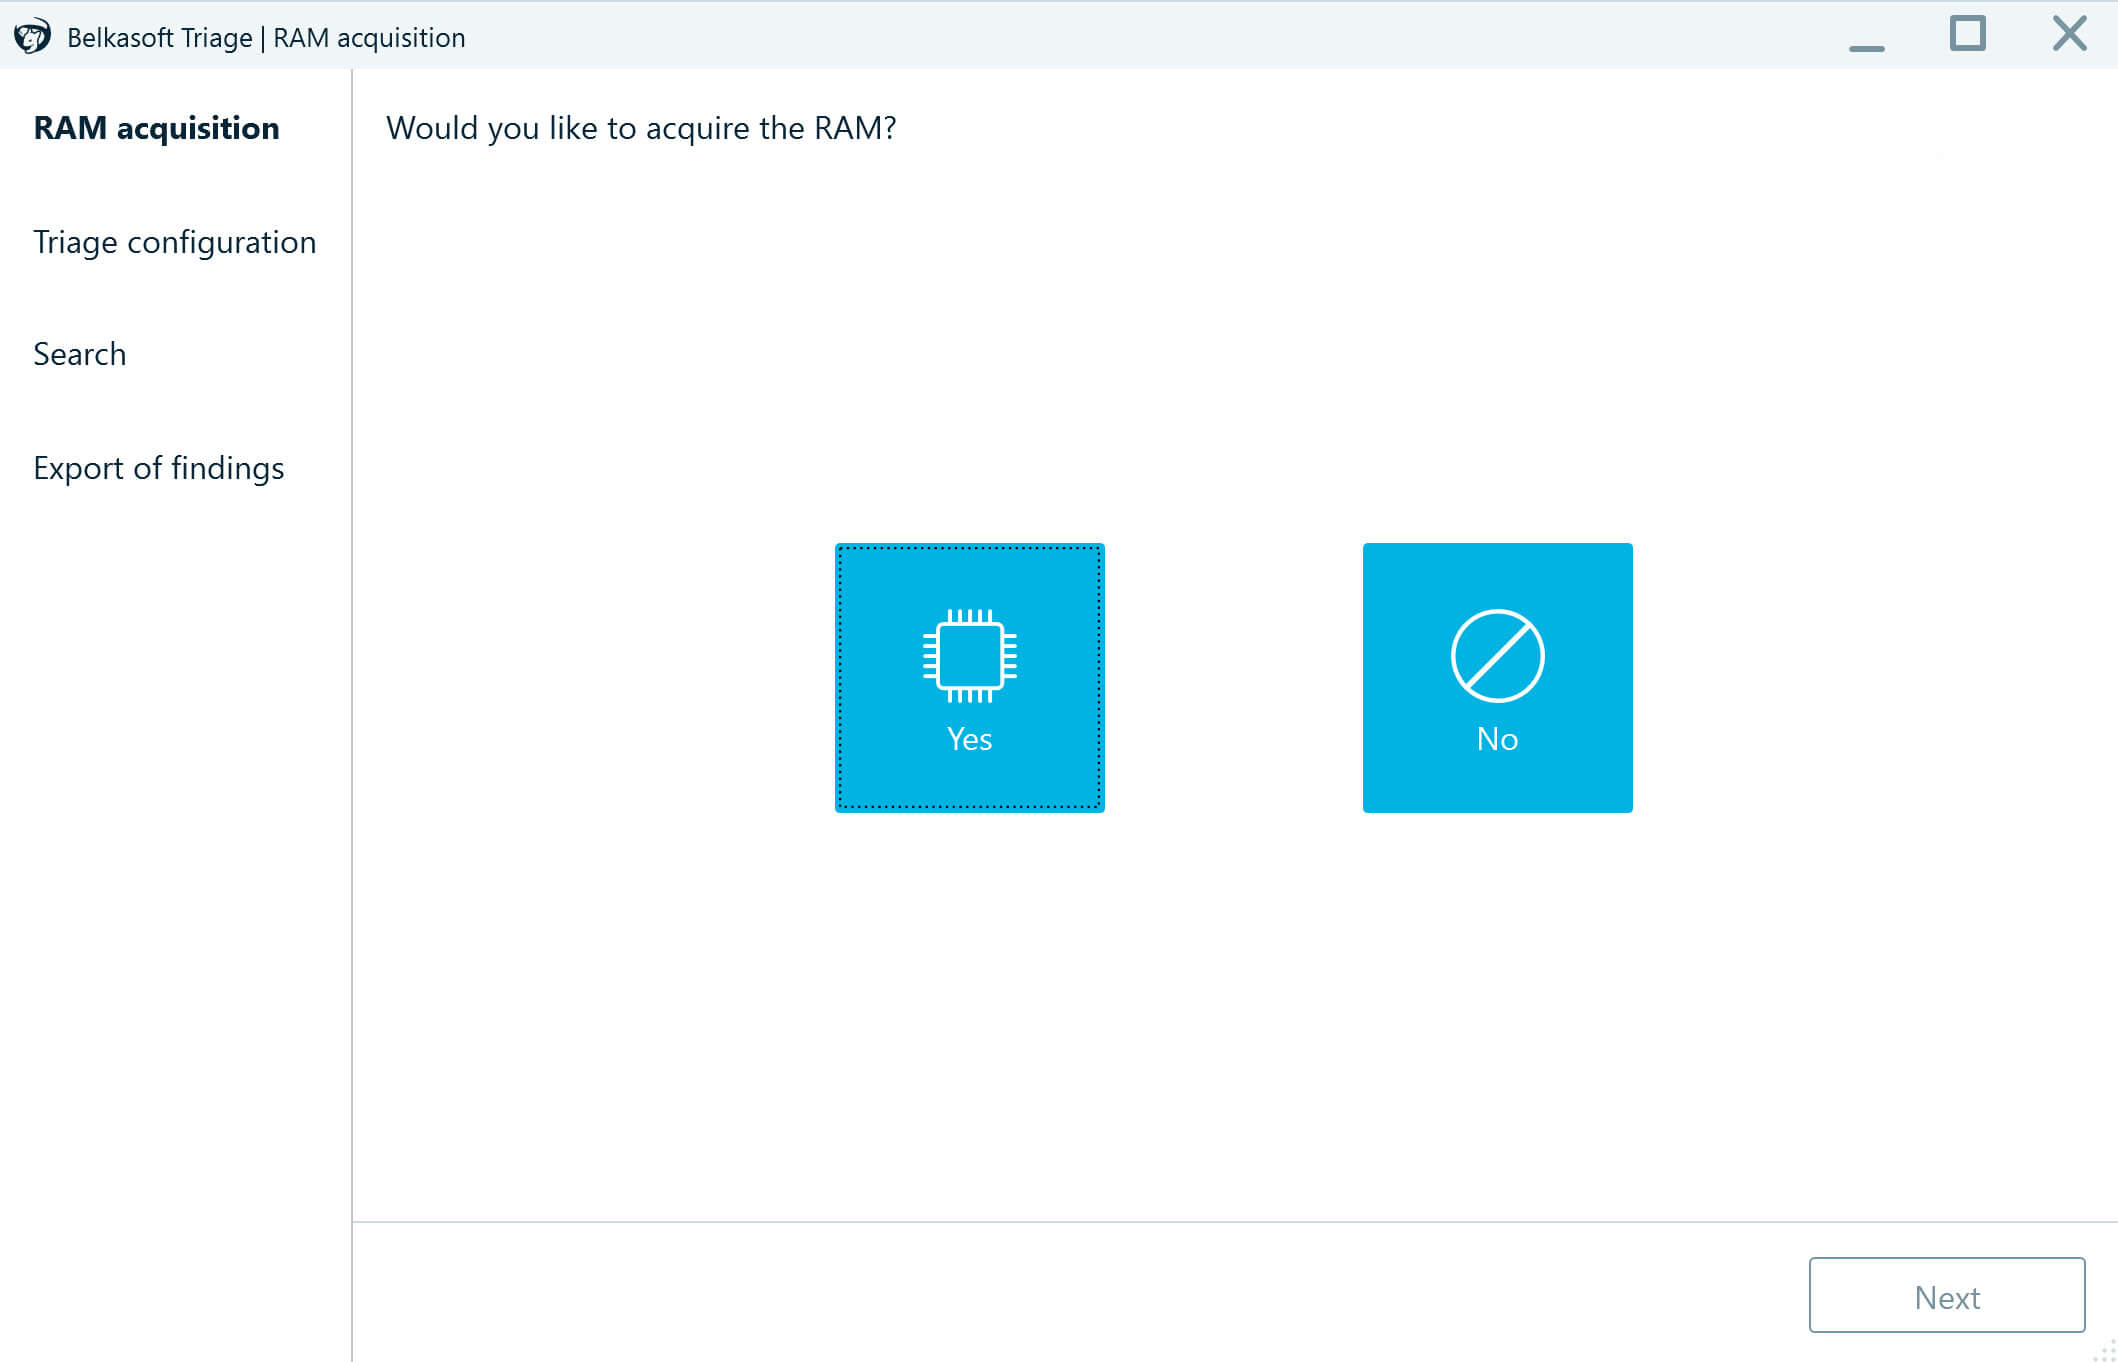
Machine volatile memory typically includes a lot of valuable information. You can opt to acquire it with RAM Capturer, another free tool offered by Belkasoft, or you can do it as part of the triage process:
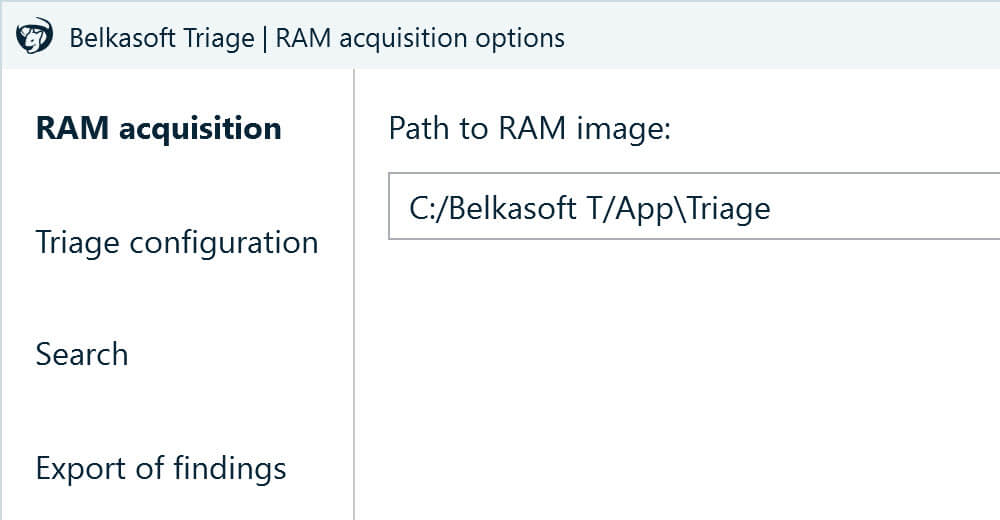
- In the RAM acquisition window, select Yes.
- Next, select a location where you want to save the image. By default, Belkasoft T offers to dump it to the same folder as the tool files. You may also want to create a separate folder for each machine you triage.
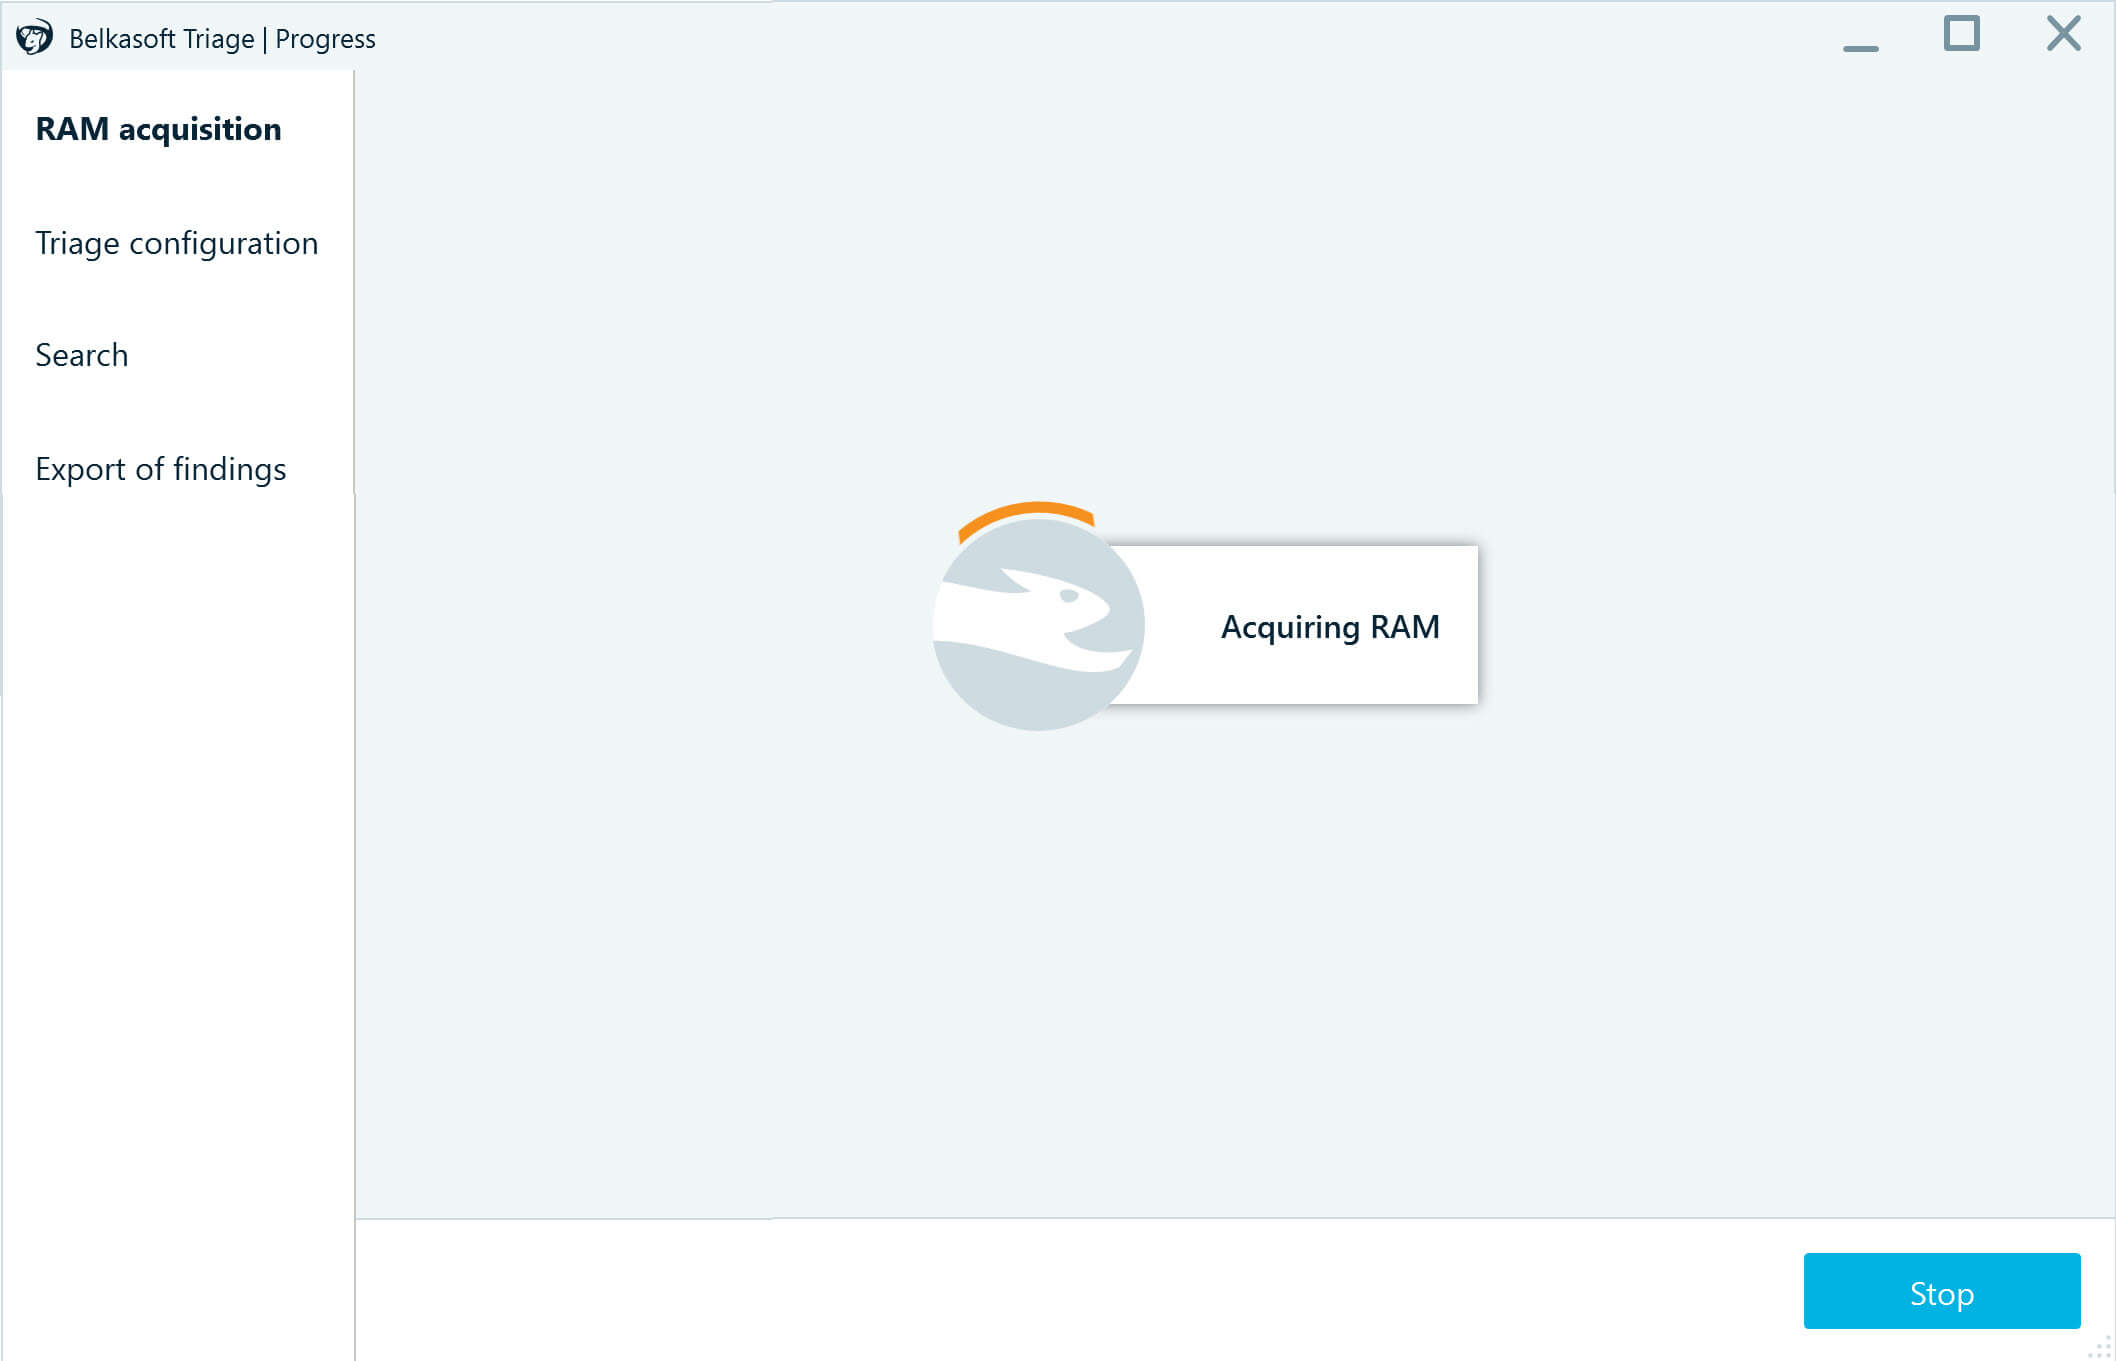
- When you click Next, the RAM acquisition begins.
- When the process is complete, the tool displays the path to the folder where it saved the image. Click Next.
Step 3: Configure triage options
Next, you select the objects to inspect on the machine and configure media file analysis.
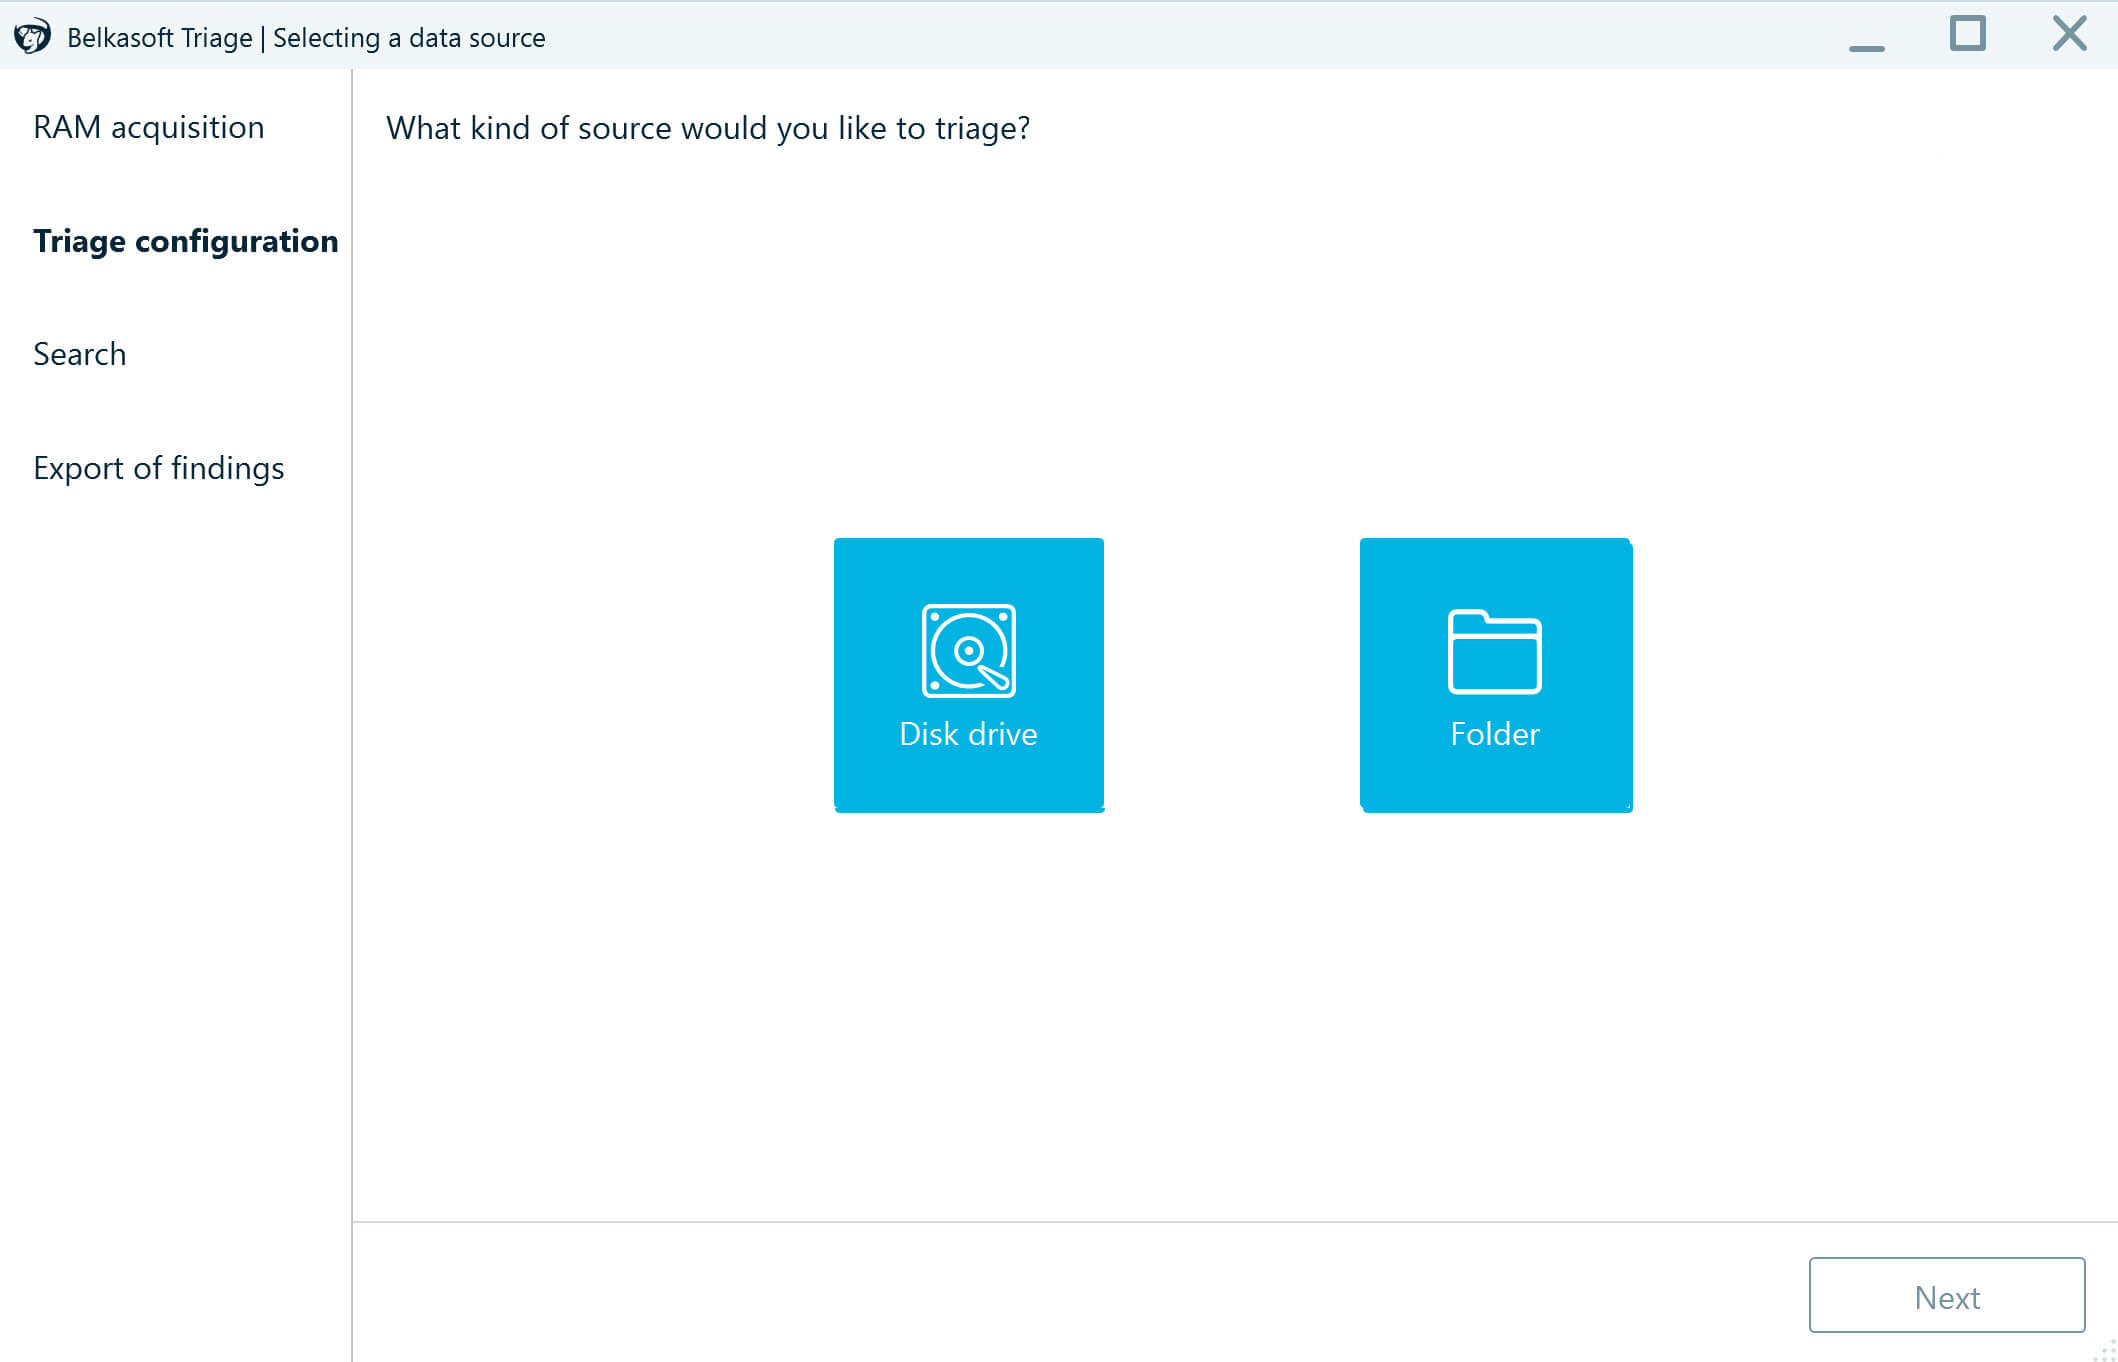
- Define the data source on the machine to scan for artifacts. If you are short on time, it is a good idea to check the current user folder first because most user-related files are located there.
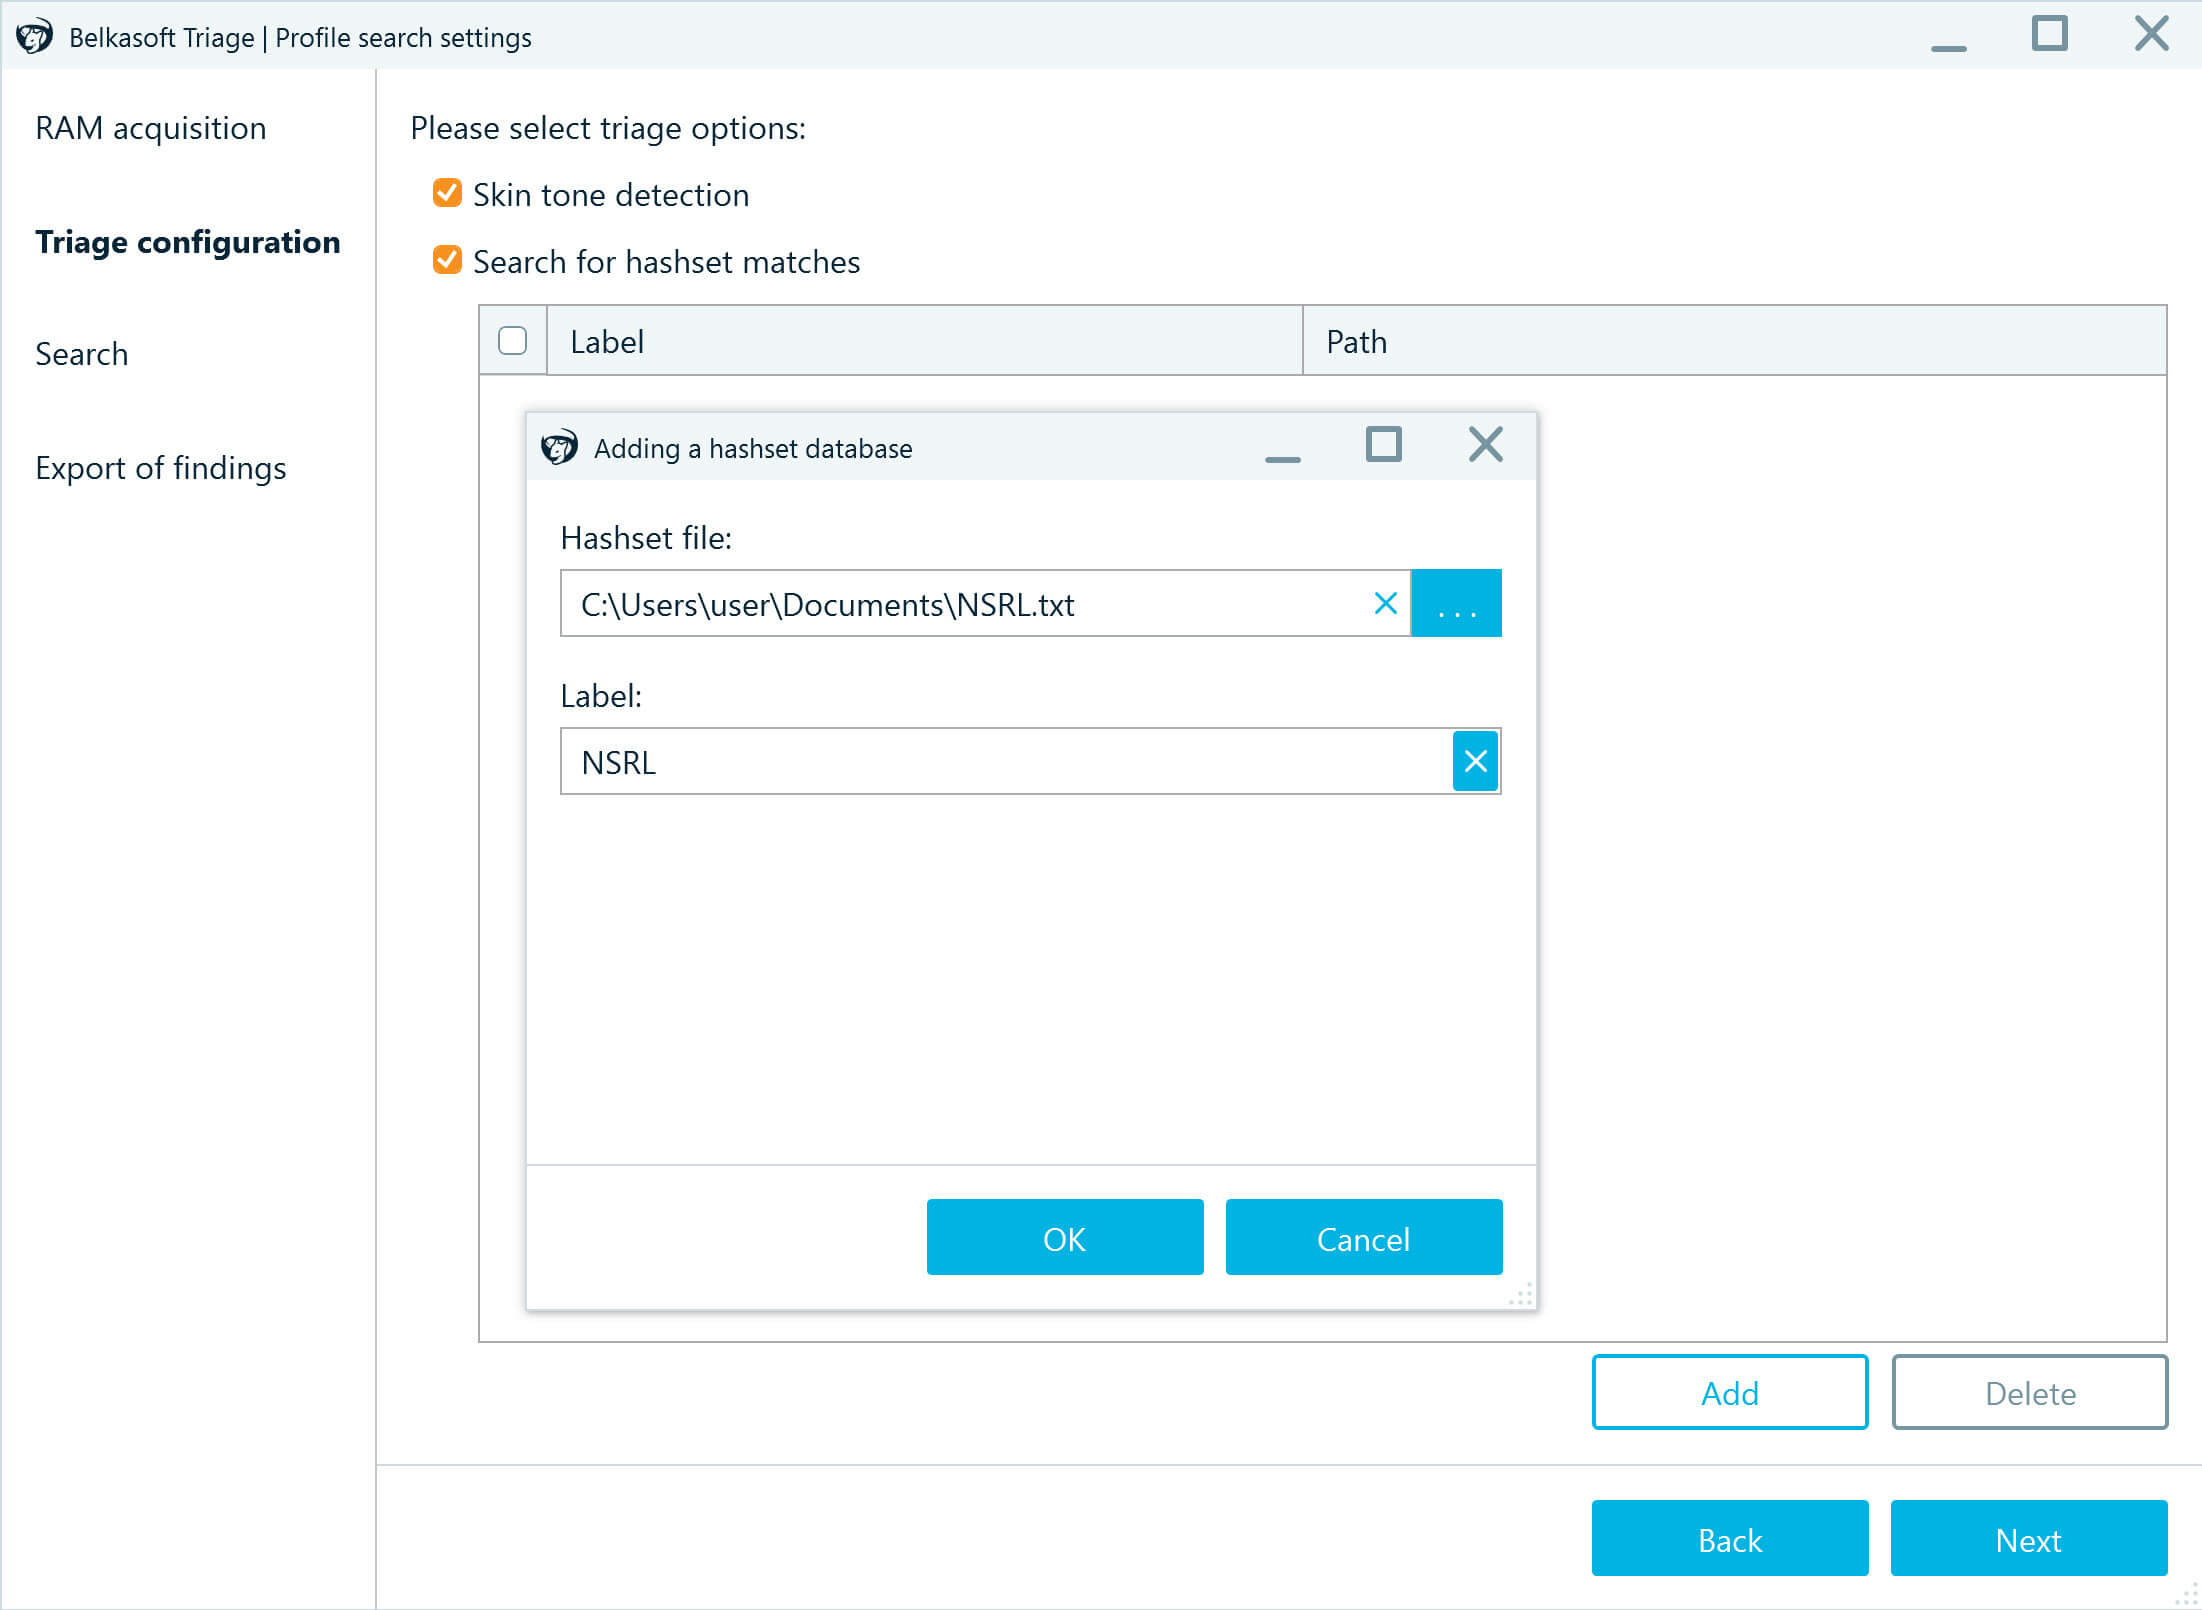
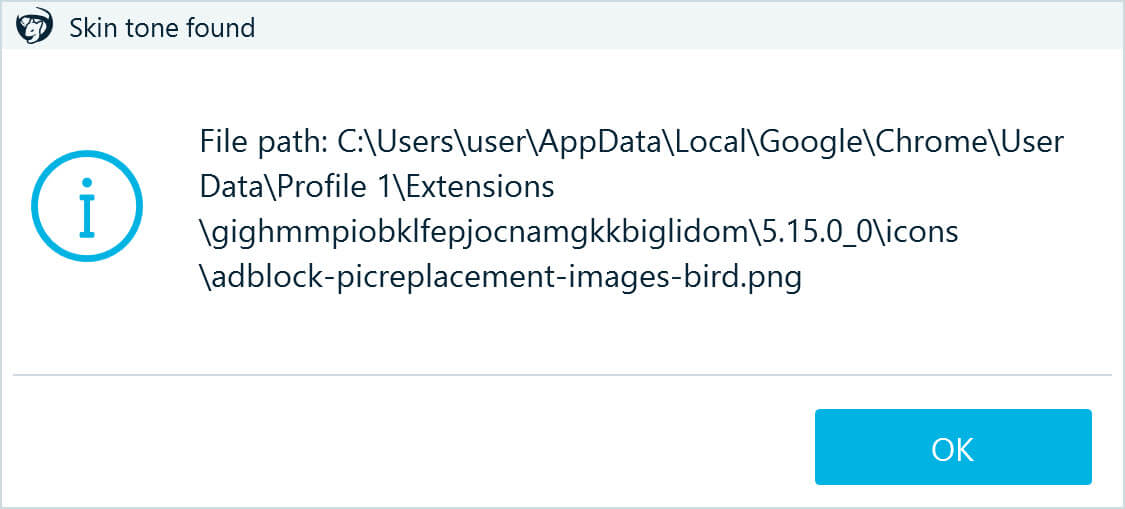
- Then, select additional options for the media file and hashset analysis. If you want the tool to look for photos that include nudity, enable Skin tone detection.
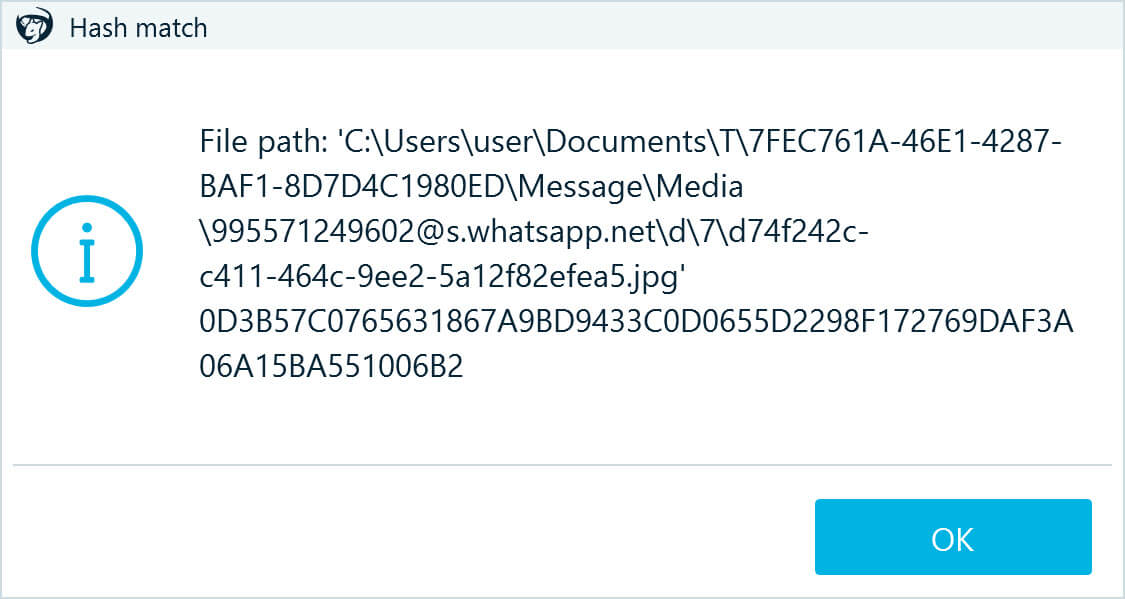
- You can also use the Search for hashset matches option to run hashset analysis in the course of triage. After selecting the checkbox, click Add and specify the path to the hashset database you want to include in the analysis. Belkasoft T supports Project Vic, NSRL, and other types of hash databases, such as custom text and CSV hashsets. Click Next.
- Review the selected options and click Start to scan the selected data source.
Note that both skin tone and hashset analysis will take additional time; however, they might be indispensable when looking for Child Sexual Abuse Material (CSAM) evidence.
Step 4: Review search results
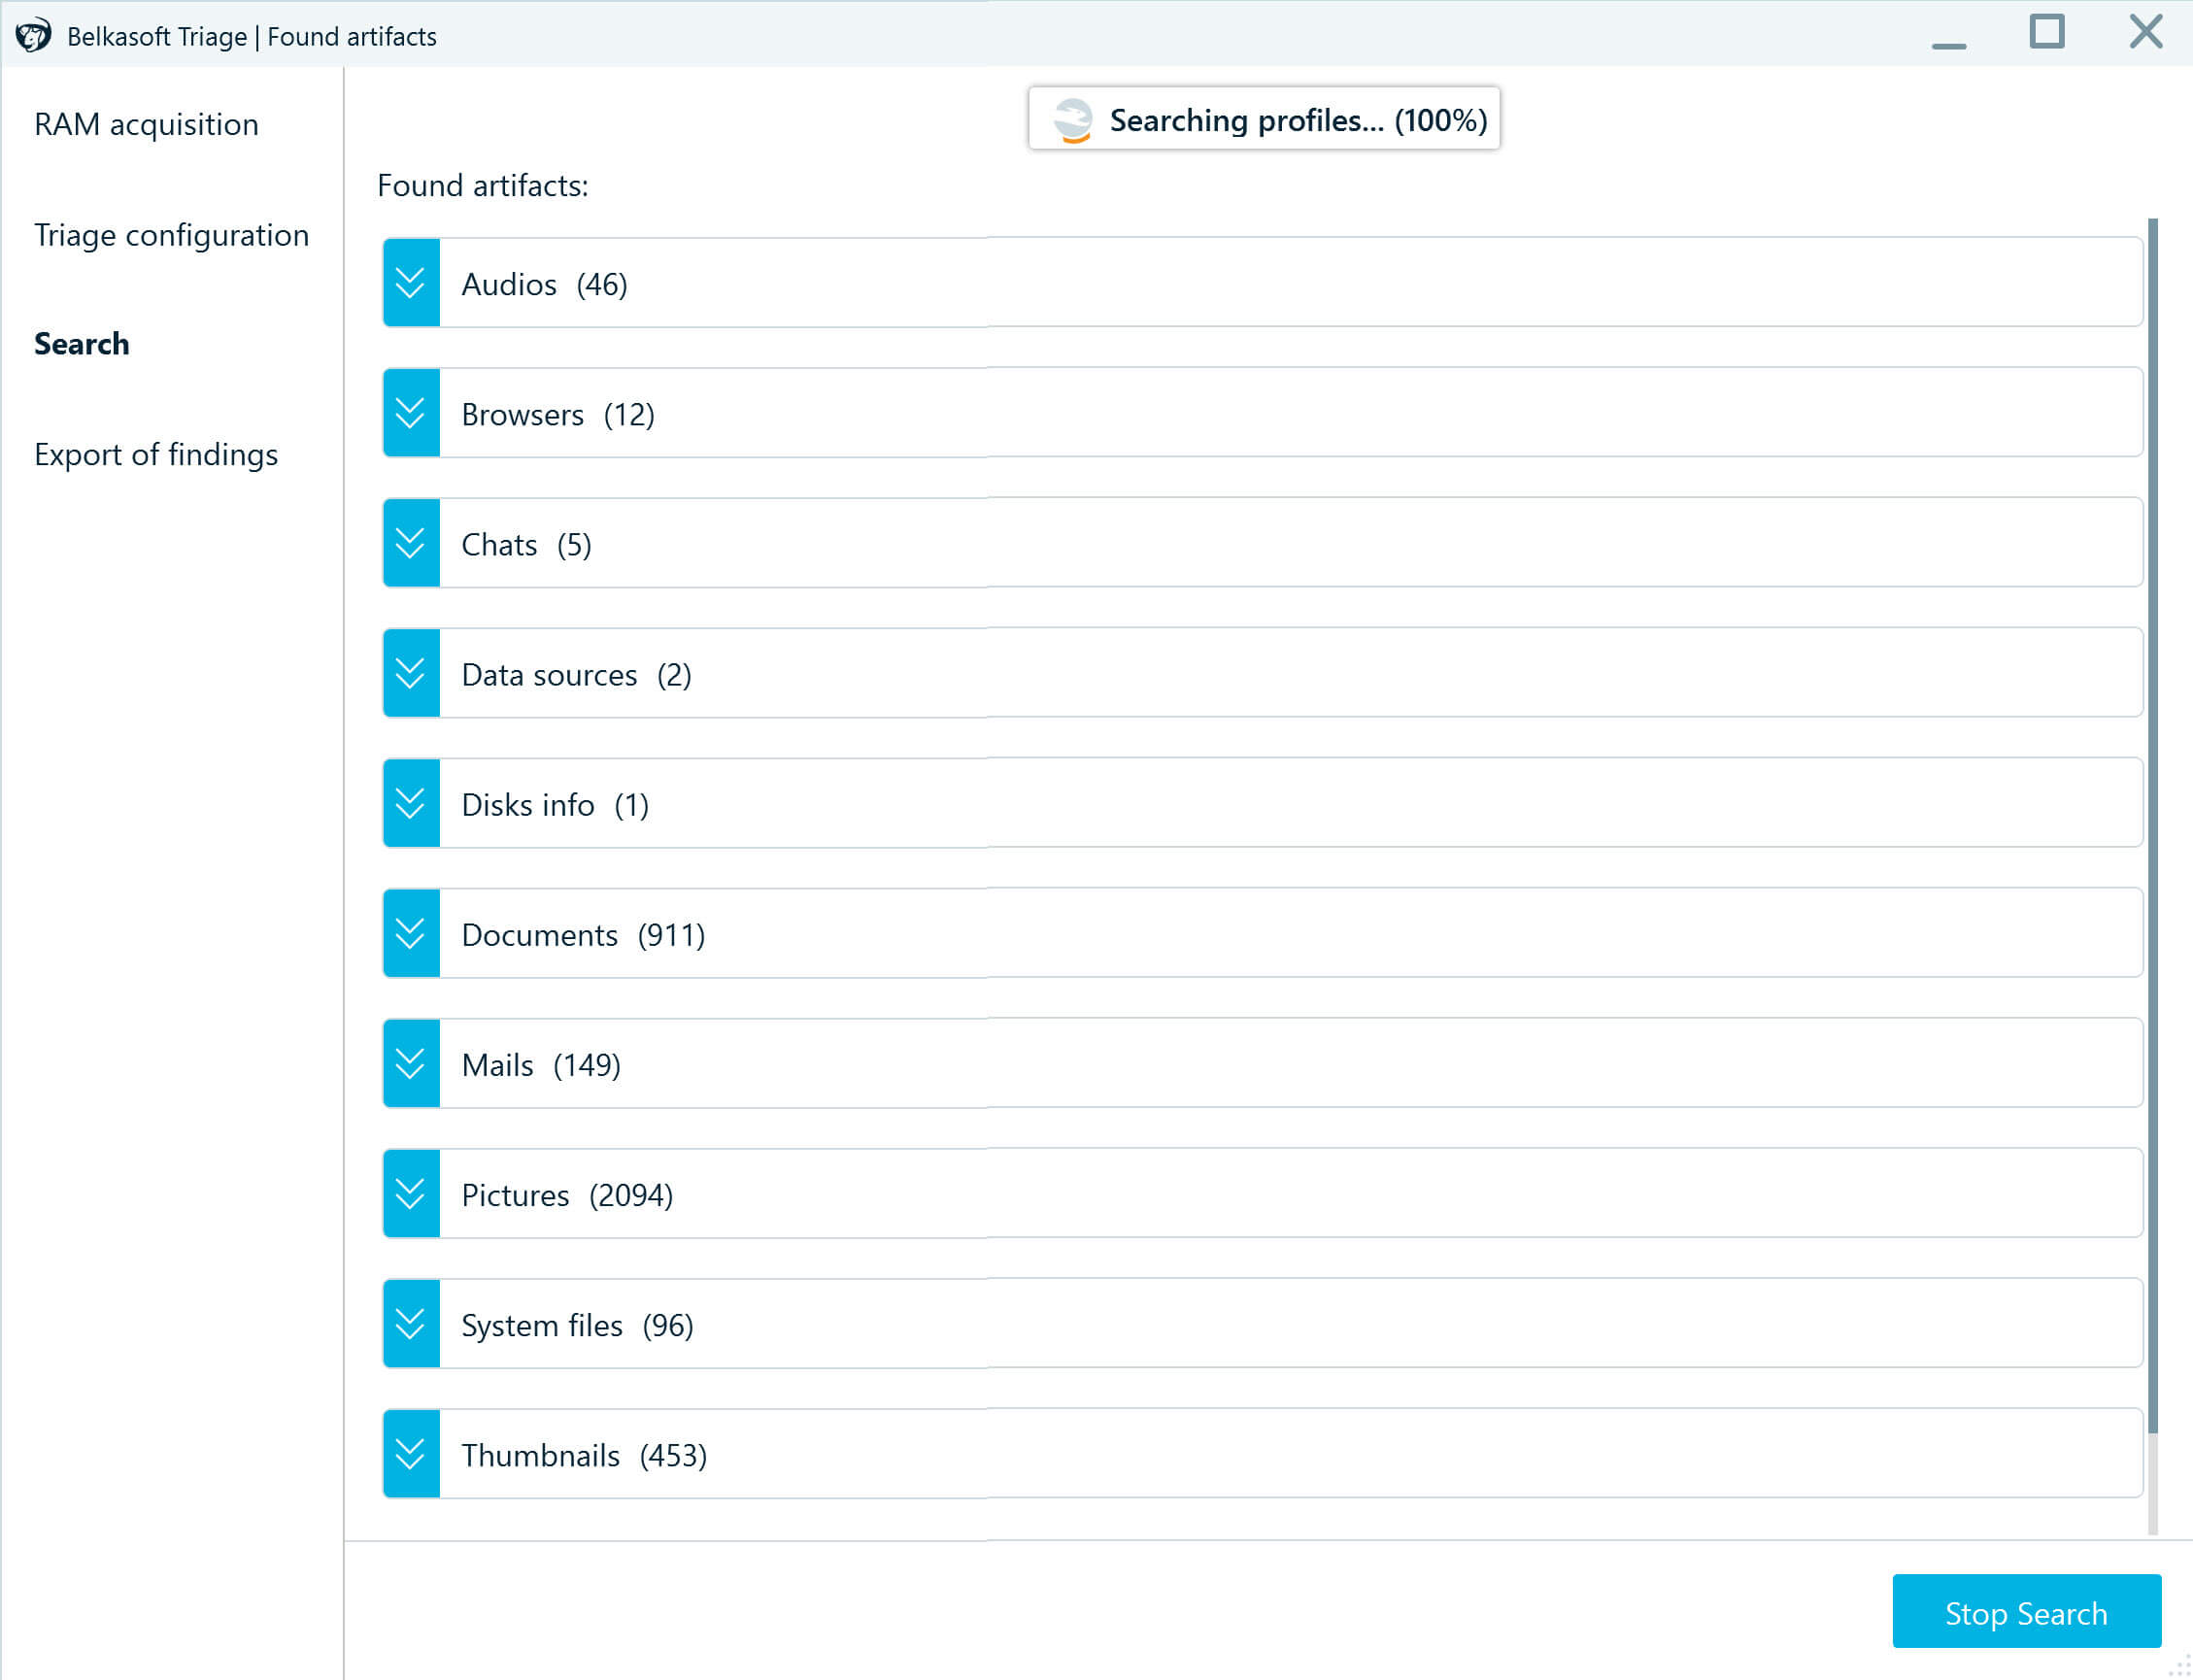
Belkasoft T does not fully analyze everything it finds. Instead, it focuses on looking for application profiles and important system files.
- When scanning your data source, Belkasoft T displays detected profiles in the Found artifacts window. You can expand each profile to view the list of detected files and use the Stop Search button to complete the process at any time if you spot a suspicious item or for any other reason.
- The tool will immediately alert you if it finds a potential smoking gun—a match of a hash value or a picture with skin tone. Belkasoft T displays such alerts only once because one found match is typically enough to make the decision to export evidence or seize the machine.
Step 5: Export your findings
The last step of the triage process in Belkasoft T is to create a partial image of the findings.
- After the search is complete or stopped, click Export.
- The Export settings window displays the detected artifacts grouped by categories. You can use the Filter by field to narrow down the displayed items.
- Select the checkboxes to include various application profiles and other search results in your resulting image. You can check the whole category, an application profile, or specific files. The product will display the size of selected data—verify you have enough free space on your drive.
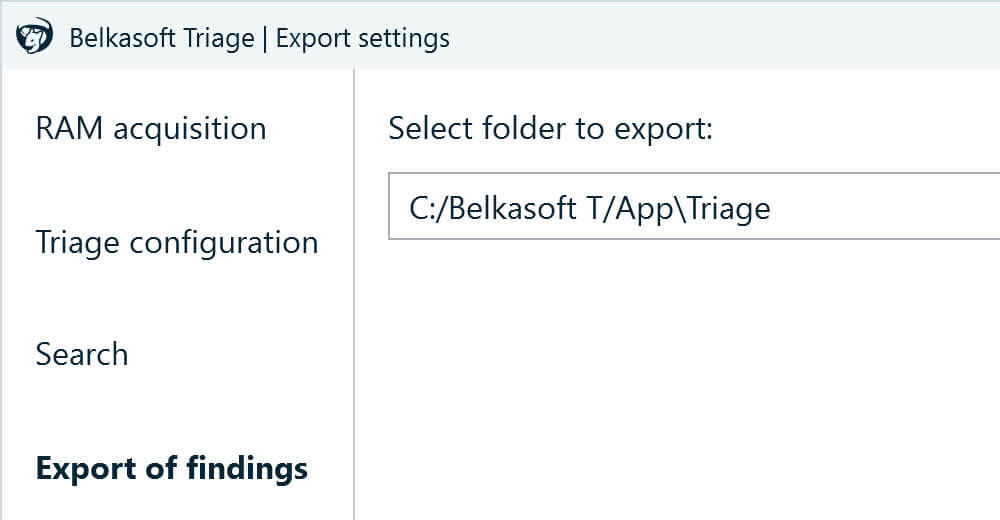
- Click Next, select a folder to store the files, and click Export. The default selection is the tool folder on your external drive. You may also want to create a separate folder for each machine you triage.
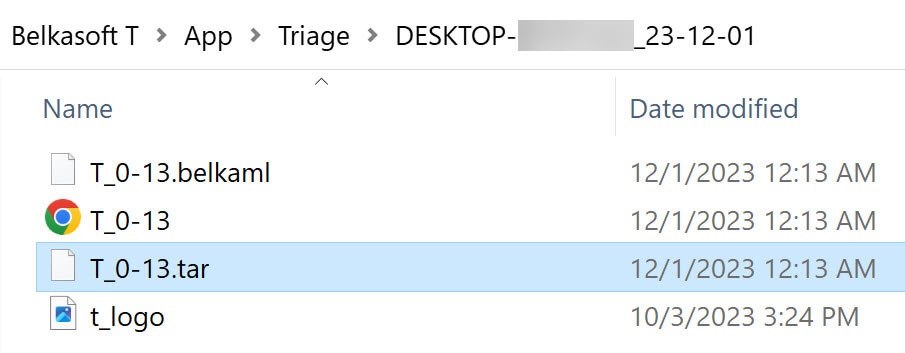
- When the export is complete, click Open folder to view the resulting image file. Belkasoft T creates images in the widely used .tar format that you can analyze and examine in Belkasoft X and other forensic tools.
- Exit the tool and safely eject your external drive.

Even if an error occurs during the export, the tool will still create an image of the findings it was able to obtain from the device. You can then locate the image in the folder you selected for export and review the list of acquired files in the HTML file.
Conclusion
Effective triage is key to swiftly sorting through numerous digital devices and large amounts of data in on-site investigations. When it comes to selecting a tool to facilitate digital forensic triage, Belkasoft T stands out for its comprehensive abilities, fast performance, and free distribution. It enables quick extraction of important evidence from Windows systems and does not require specialized knowledge, which makes it user-friendly for both DFIR examiners and first responders.